The Smart Garage & Storage Setup Guide: Maximize Vertical Space Without Buying Expensive Systems
We’ve all done the frantic weekend shuffle. You open the garage door, trip over a stray rake, bypass a mountain of plastic bins, and wonder how a two-car garage slowly turned into a one-car storage locker.
The standard fix? Call a custom garage company or spend a mortgage payment on pre-made metal tracks and glossy cabinets.
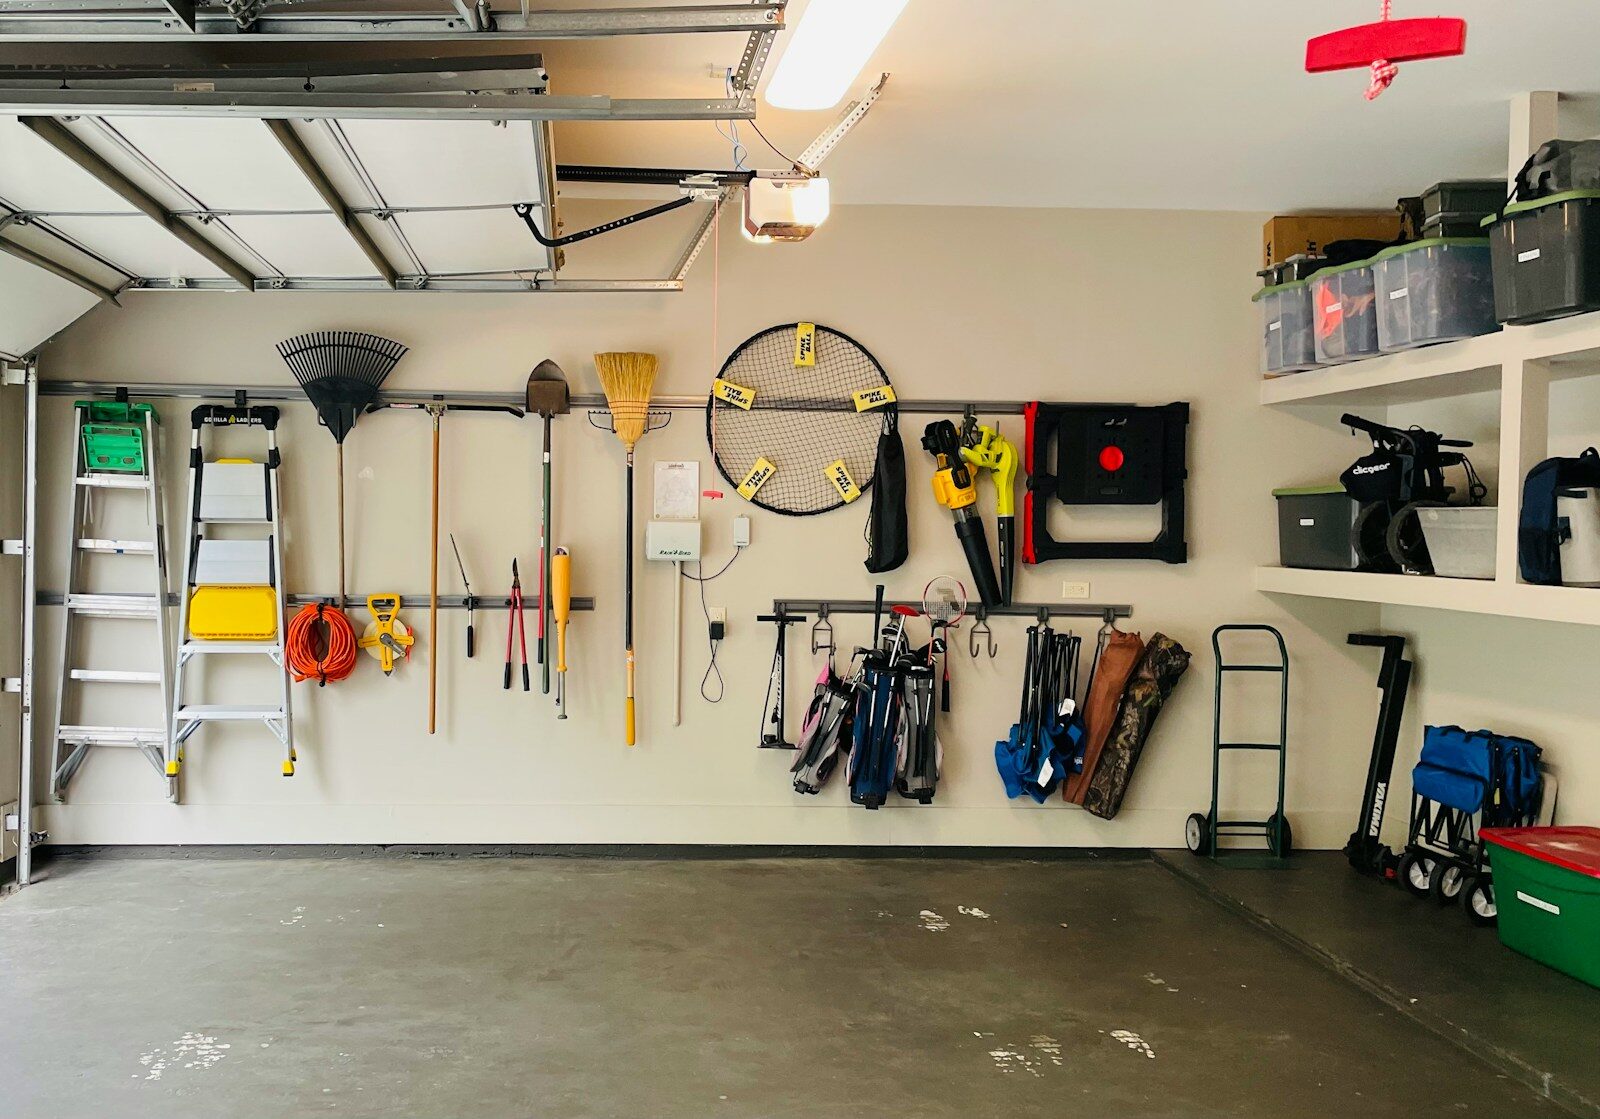
But you don’t need a showroom budget to get your floor space back. If you have some wall studs, a few basic tools, and a weekend, you can build a high-density workspace that actually handles real-world clutter. Here is how to reclaim your garage from the ground up.
1. The French Cleat: Ultimate Modular Storage on a Dime
If you buy a proprietary wall track system, you are locked into their expensive hooks and baskets forever. Instead, meet the French cleat. It’s a centuries-old woodworking trick that costs next to nothing but holds incredible weight.
You take a strip of $3/4$-inch plywood, rip it down the middle at a 45-degree angle, and mount one half to your wall studs with the angle facing up. The other half attaches to the back of your tool racks, shelves, or bins, facing down. They interlock flawlessly.
The best part? Nothing is permanent. If you buy a new tool next winter, you don’t drill new holes in your drywall. You just slide your custom tool holder along the cleat or lift it off to rearrange the whole wall.
2. Think in Pairs: Heavy-Duty Bulk Hooks
We often default to buying small, specialized clips for every single screwdriver or pliers. That gets expensive fast, and it forces you to be meticulous every time you put a tool away.
For high-density storage, skip the tiny clips and buy bulk packs of heavy-duty, padded utility hooks. Look for the long, double-prong varieties.
Instead of hanging one item per hook, stack things horizontally or deep. A single pair of long prongs can hold three extension cords, two weed eaters, or a bundle of four camping chairs. By hanging things perpendicular to the wall rather than flat against it, you multiply your usable surface area by three.
3. High-Density Bin Zones (And the T-Track Trick)
Plastic totes are great, but stacking them on top of each other is a trap. The bin you actually need is always at the bottom of the stack, leading to a frustrating game of reverse-Jenga.
Instead of buying expensive heavy-duty shelving units to hold those bins, use the overhead space between your garage door tracks or right above your head.
You can build a simple ceiling storage grid using 2x4s and plywood scraps cut into “T” shapes. Screw these runners into your ceiling joists, spacing them just wide enough for the top lips of your plastic totes to slide right in. The bins hang securely from the ceiling, keeping seasonal items completely off the floor and out of sight.
4. The “Two-Second” Labeling Rule
Organization systems fail when they take too much effort to maintain. If it takes more than two seconds to figure out where a roll of painters tape goes, it ends up on the nearest flat workbench.
Skip the tiny, elegant label makers. The text is too small to read from across the room, and the tape peels off in high humidity.
Instead, grab a wide roll of bright painter’s tape and a thick black marker. Label your bins and wall zones with massive, block letters you can read from ten feet away. If you share the garage with family, use color-coded tape—blue for sports gear, green for lawn care, yellow for holiday decorations. It looks a little utilitarian, but it stops the “Where does this go?” guessing game instantly.
Getting an organized garage isn’t about buying a lifestyle system from a catalog. It’s about looking at your bare walls, finding the studs, and making your space work harder for you.
What is the biggest space-hog sitting on your garage floor right now? Let’s figure out a way to get it up on the wall in the comments below.